Professional Personalization

Sara N
Last Update hace 3 años
We know how important it is to have your personal touch, hence why one of the features you have when you become a Professional will be to personalize your emails and your guest vote page with your own logo, or, your company logo. Isn’t that great?
How to personalize your emails?
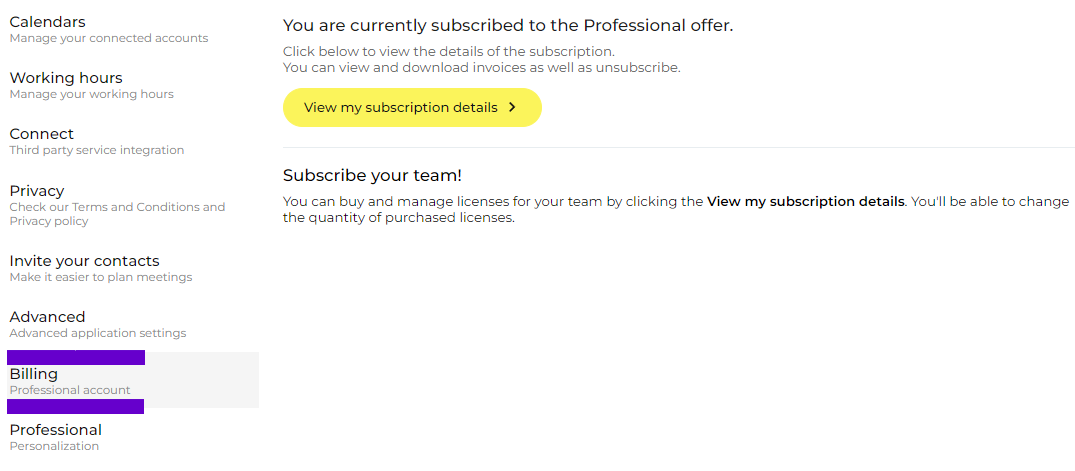
- Make sure you are subscribed to the Professional version, by clicking on Settings and then Billing
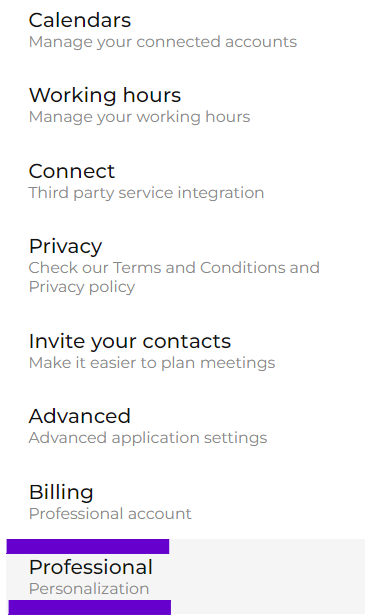
2. Once you’re all set, go to Settings and this time click on Professional.
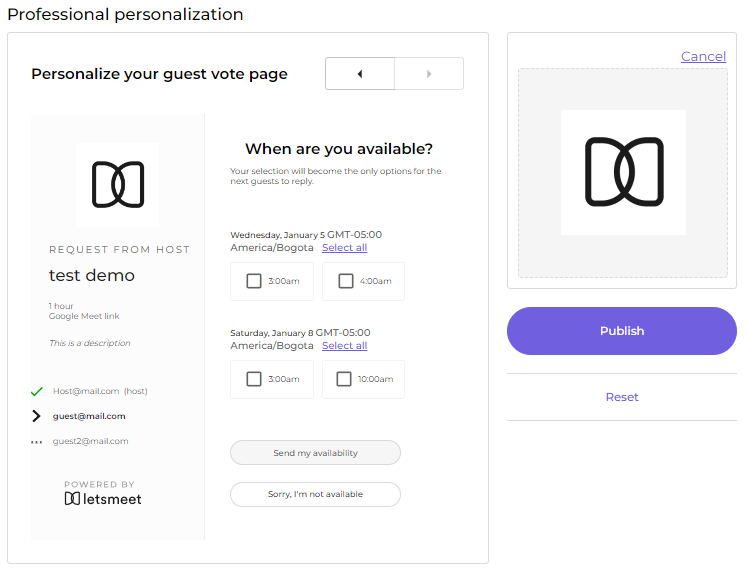
3. From here you can add your company logo which will be displayed on every single transactional email we send on your behalf. (meeting invites, meeting confirmation, etc)
All you need to do is click on the “Add logo” hyperlink or just drag & drop your logo on the dedicated box.

4. Once you’ve added your logo, click on the Publish button and then you’ll see an example of how your guests will see the scheduling

Once you publish your logo, it will appear on all the emails we send on your behalf as previously mentioned. Besides, it will show on the guest vote page. See the image below for reference:
Easy enough, right?