Registration Process

Sara N
Last Update há 3 anos
Creating and setting up your Letsmeet Account
Welcome to Letsmeet! In this guide, you will find the steps you need to take to officially create a Letsmeet account.
Here is the link to the Sign up page, which is the same page that you will be using to sign in to your Letsmeet account once you have set it up.
Remember that you may register using either a Google or Microsoft account.
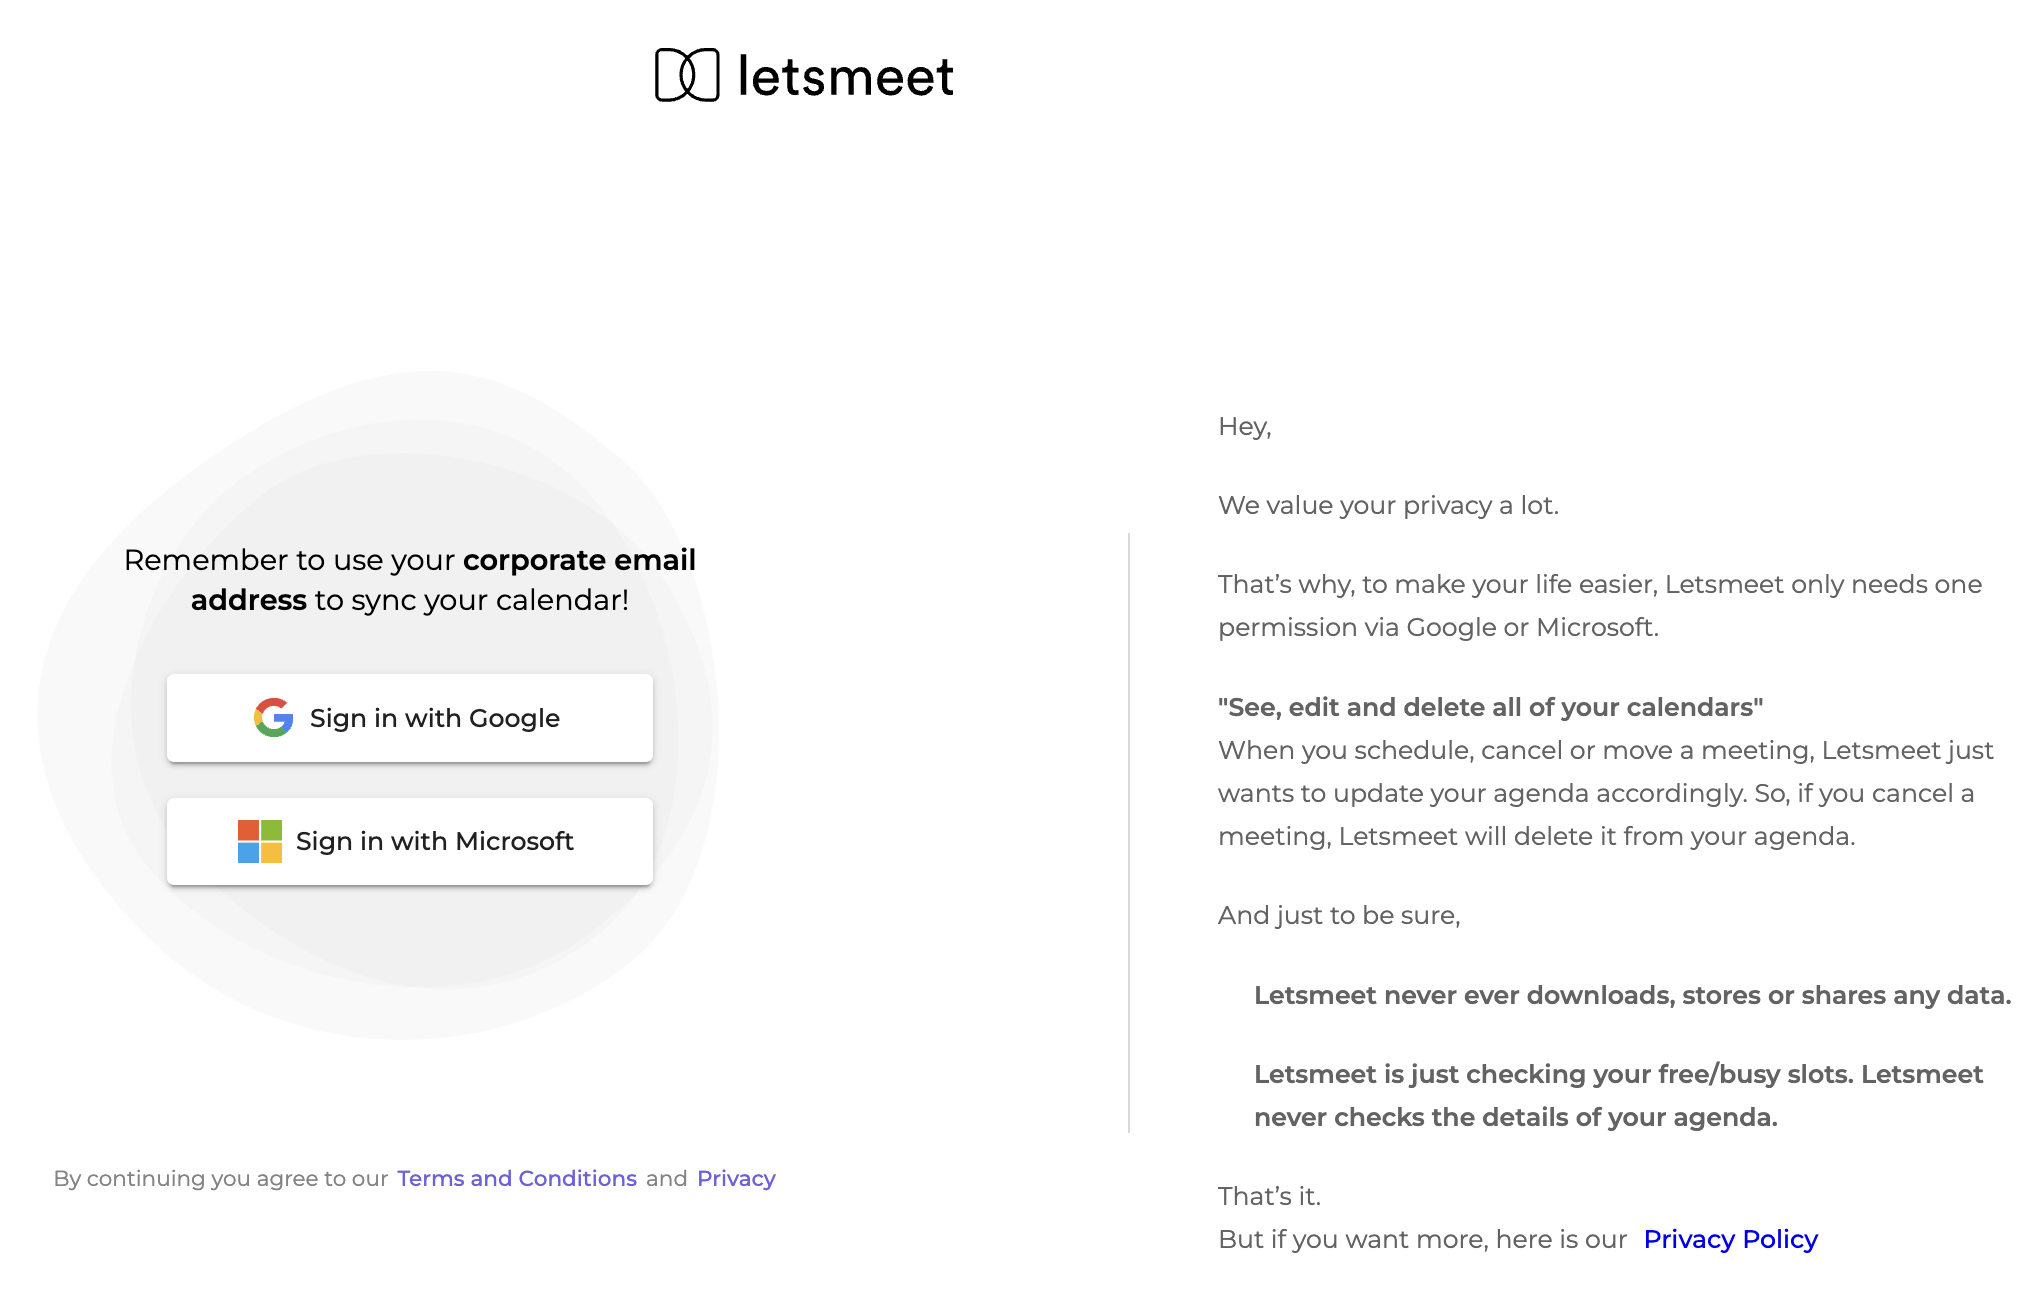
You will see 2 buttons, each one will take you to a different authorization page depending on if you’re using a Gmail or Microsoft (Hotmail, Outlook, Office365, etc) email address.
Below you can see what the authorization page looks like. Notice the 2 buttons previously mentioned on the left side of the screen.
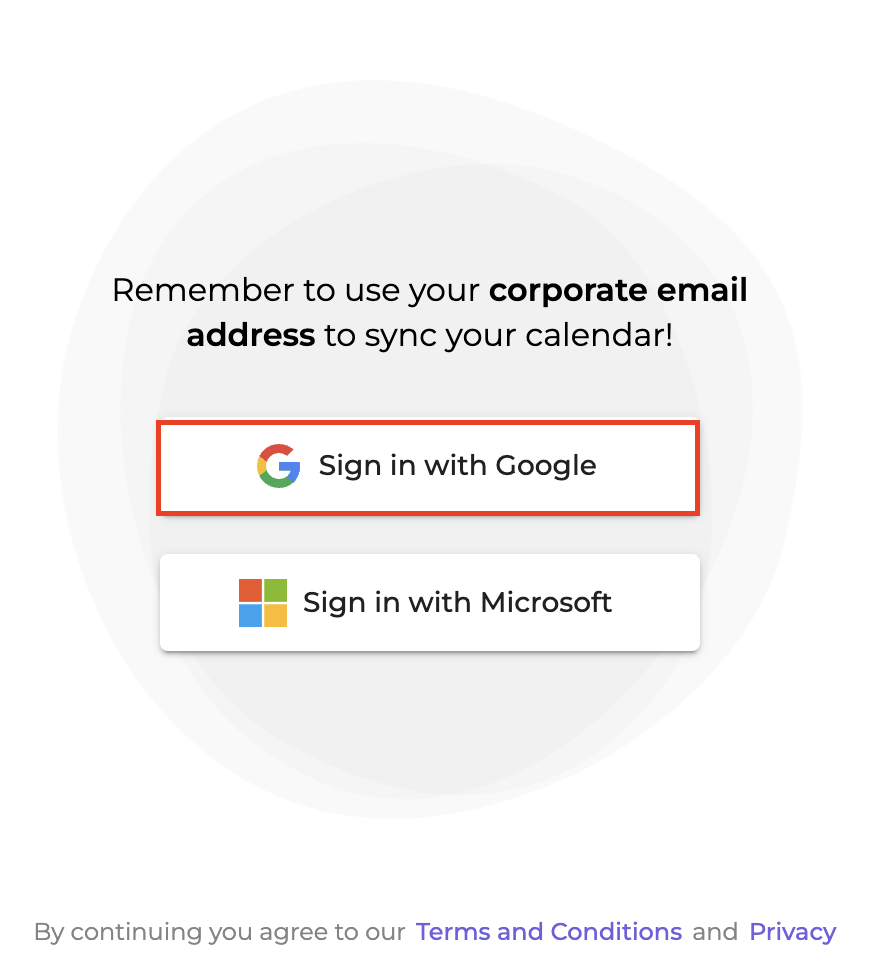
Sign up using a Google Account
If you’re going to create a Letsmeet account using a Google email address, select the first option “Sign in with Google”.
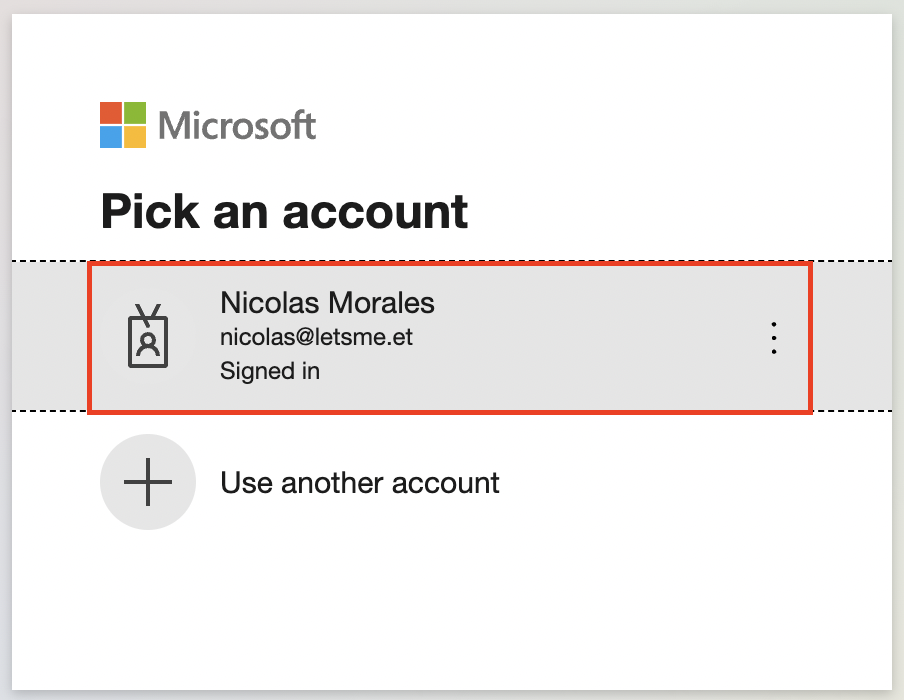
You will be redirected to a Google authorization page, where you need to select the account you want to use.
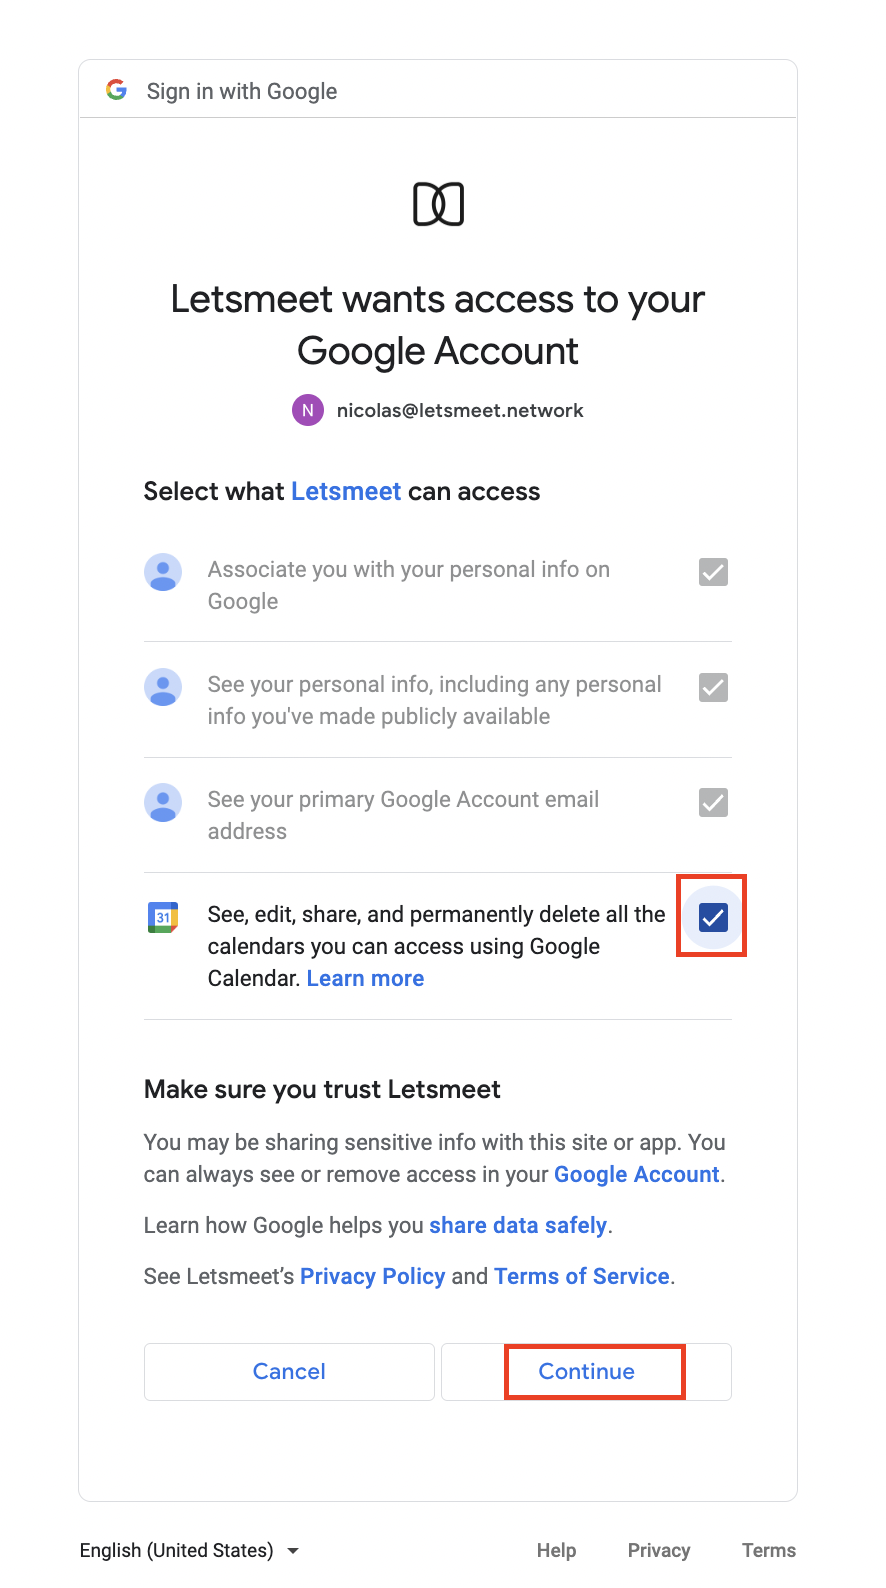
Once you select the email address you will use to create your Letsmeet account, you would need to provide us with access to your basic information.
Note: Make sure you check the calendar access box as shown below, then click on Continue.
You have successfully created a Letsmeet account using a Google email address. Well done!
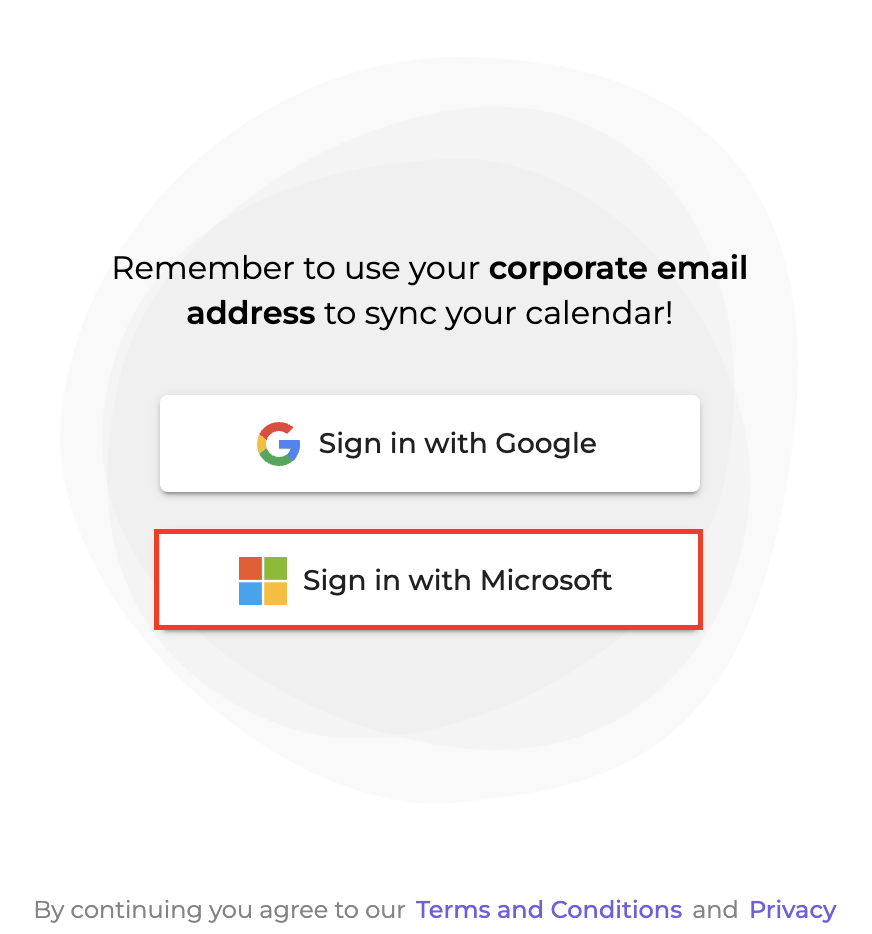
Sign up using a Microsoft Account
The registration process with a Microsoft account is pretty much the same as signing up with a Google account. In this case, you’ll need to click on the “Sign in with Microsoft” button: